Description
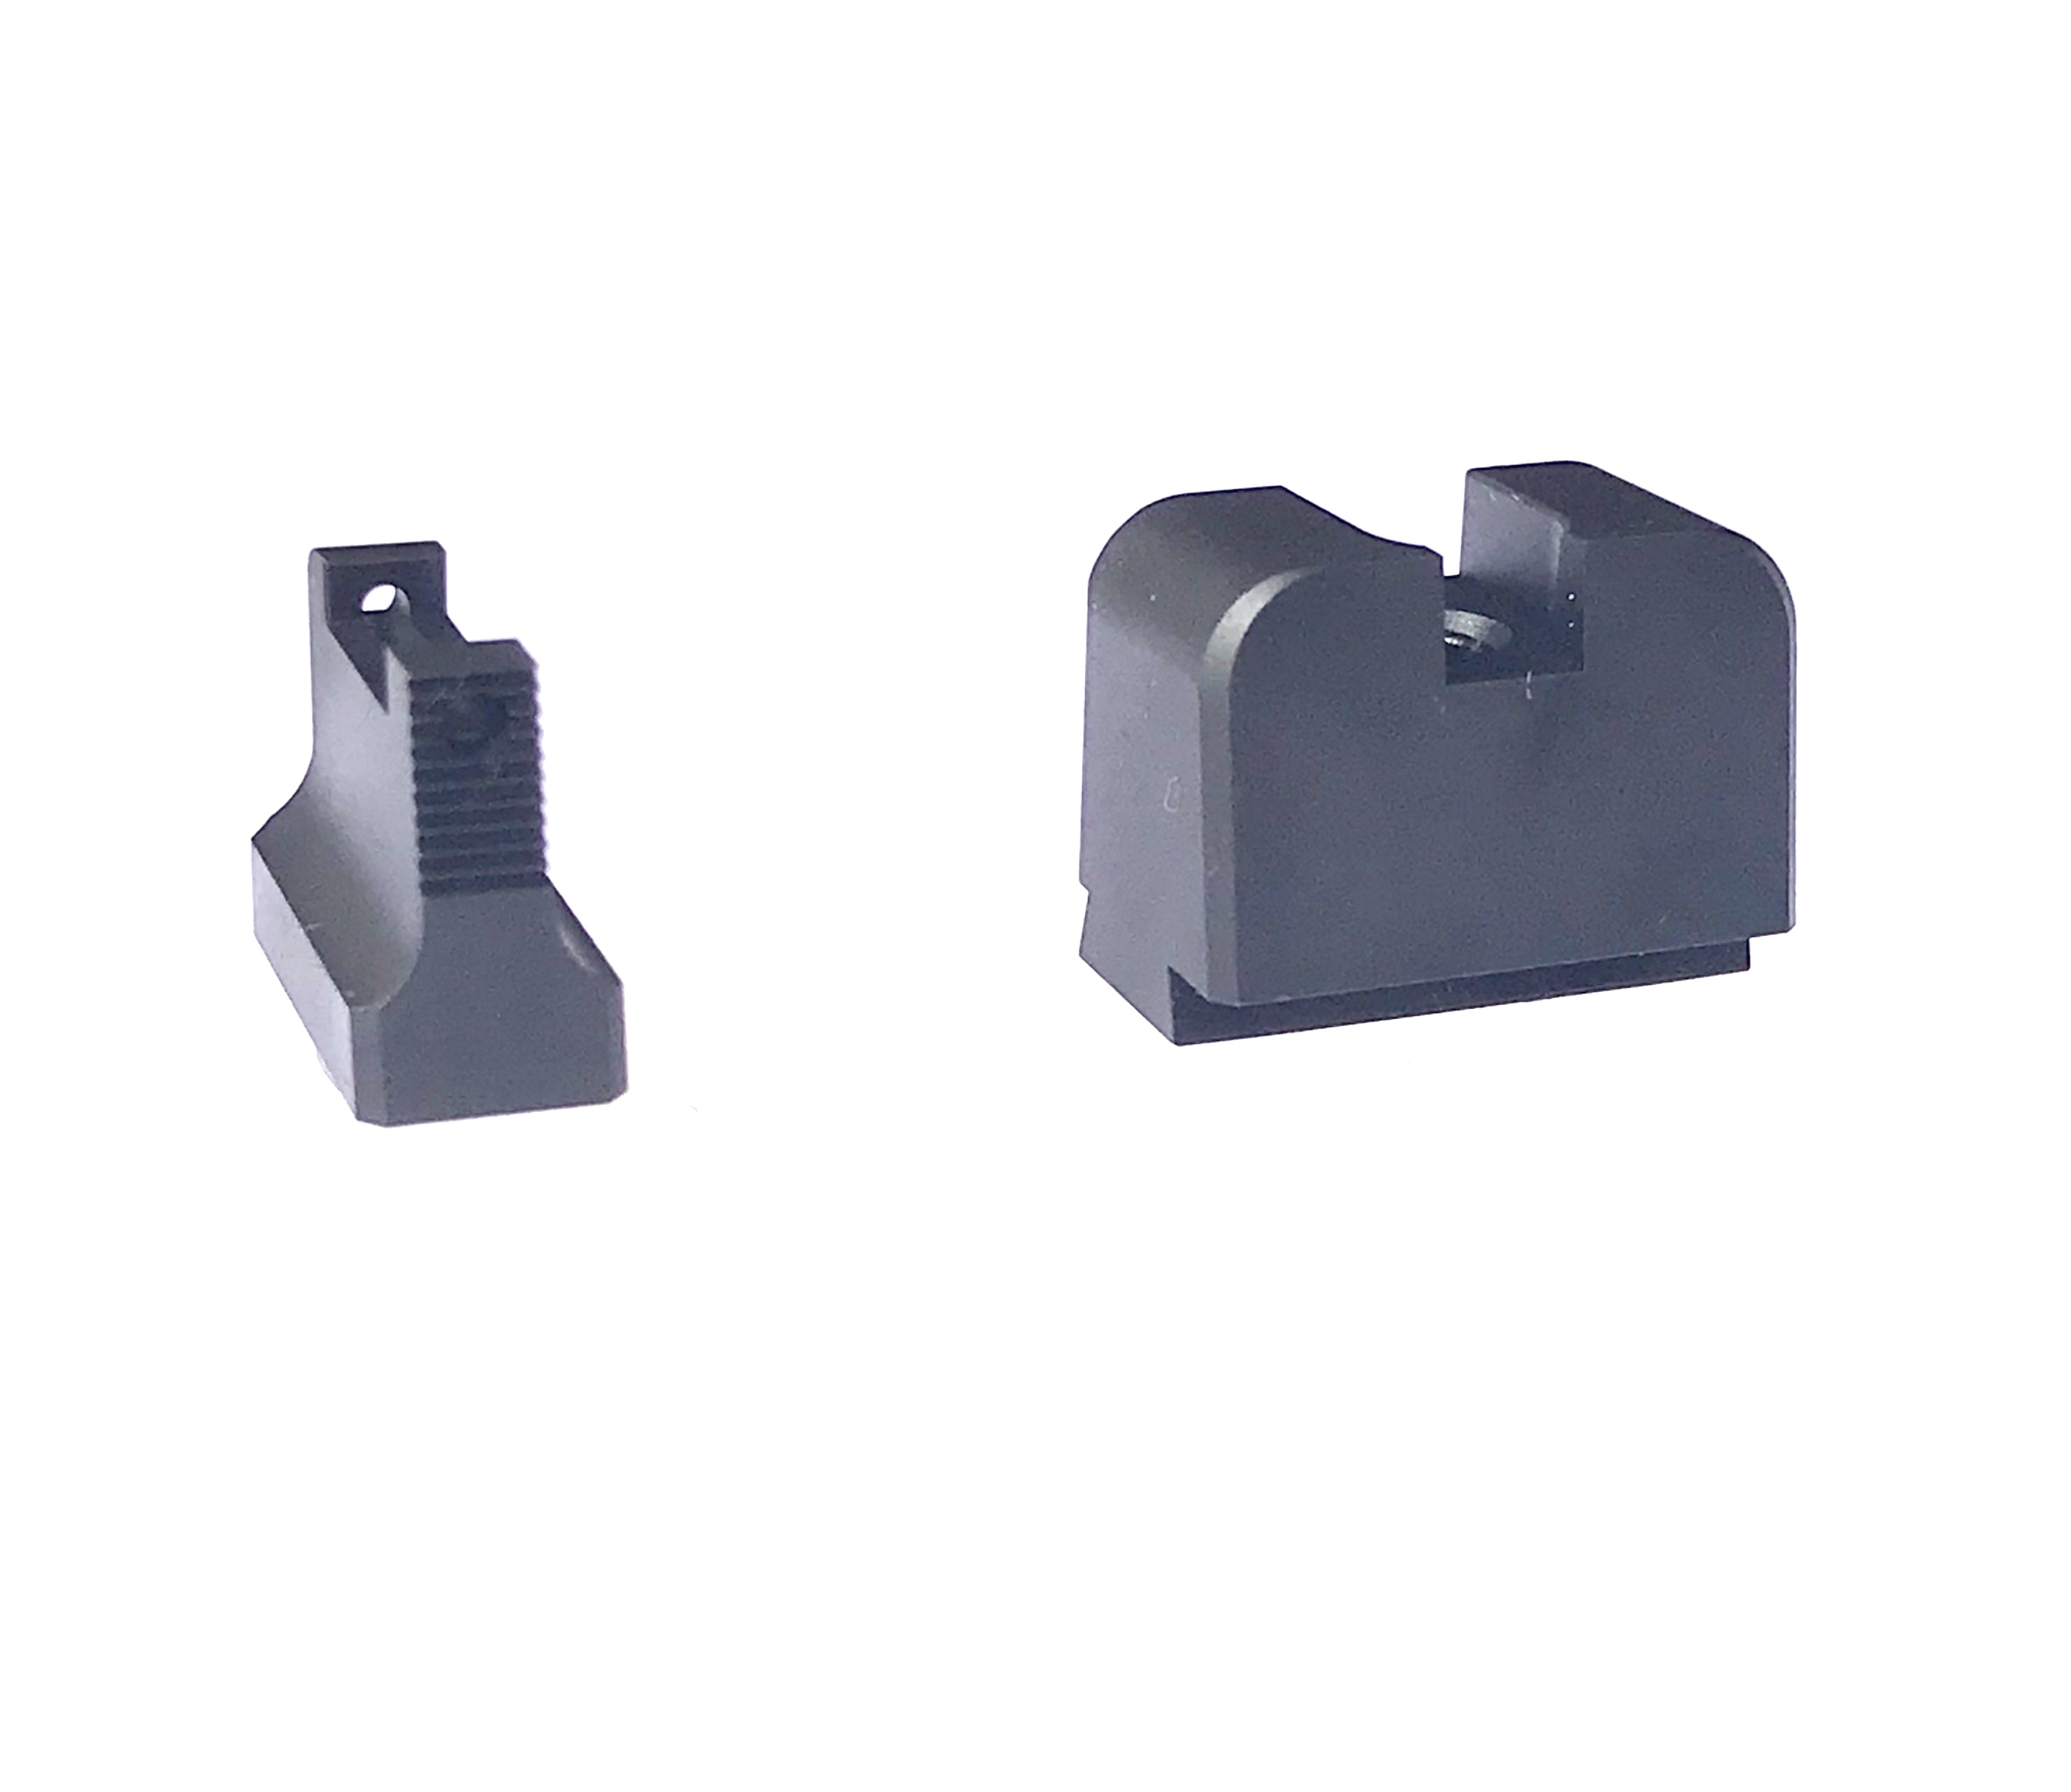
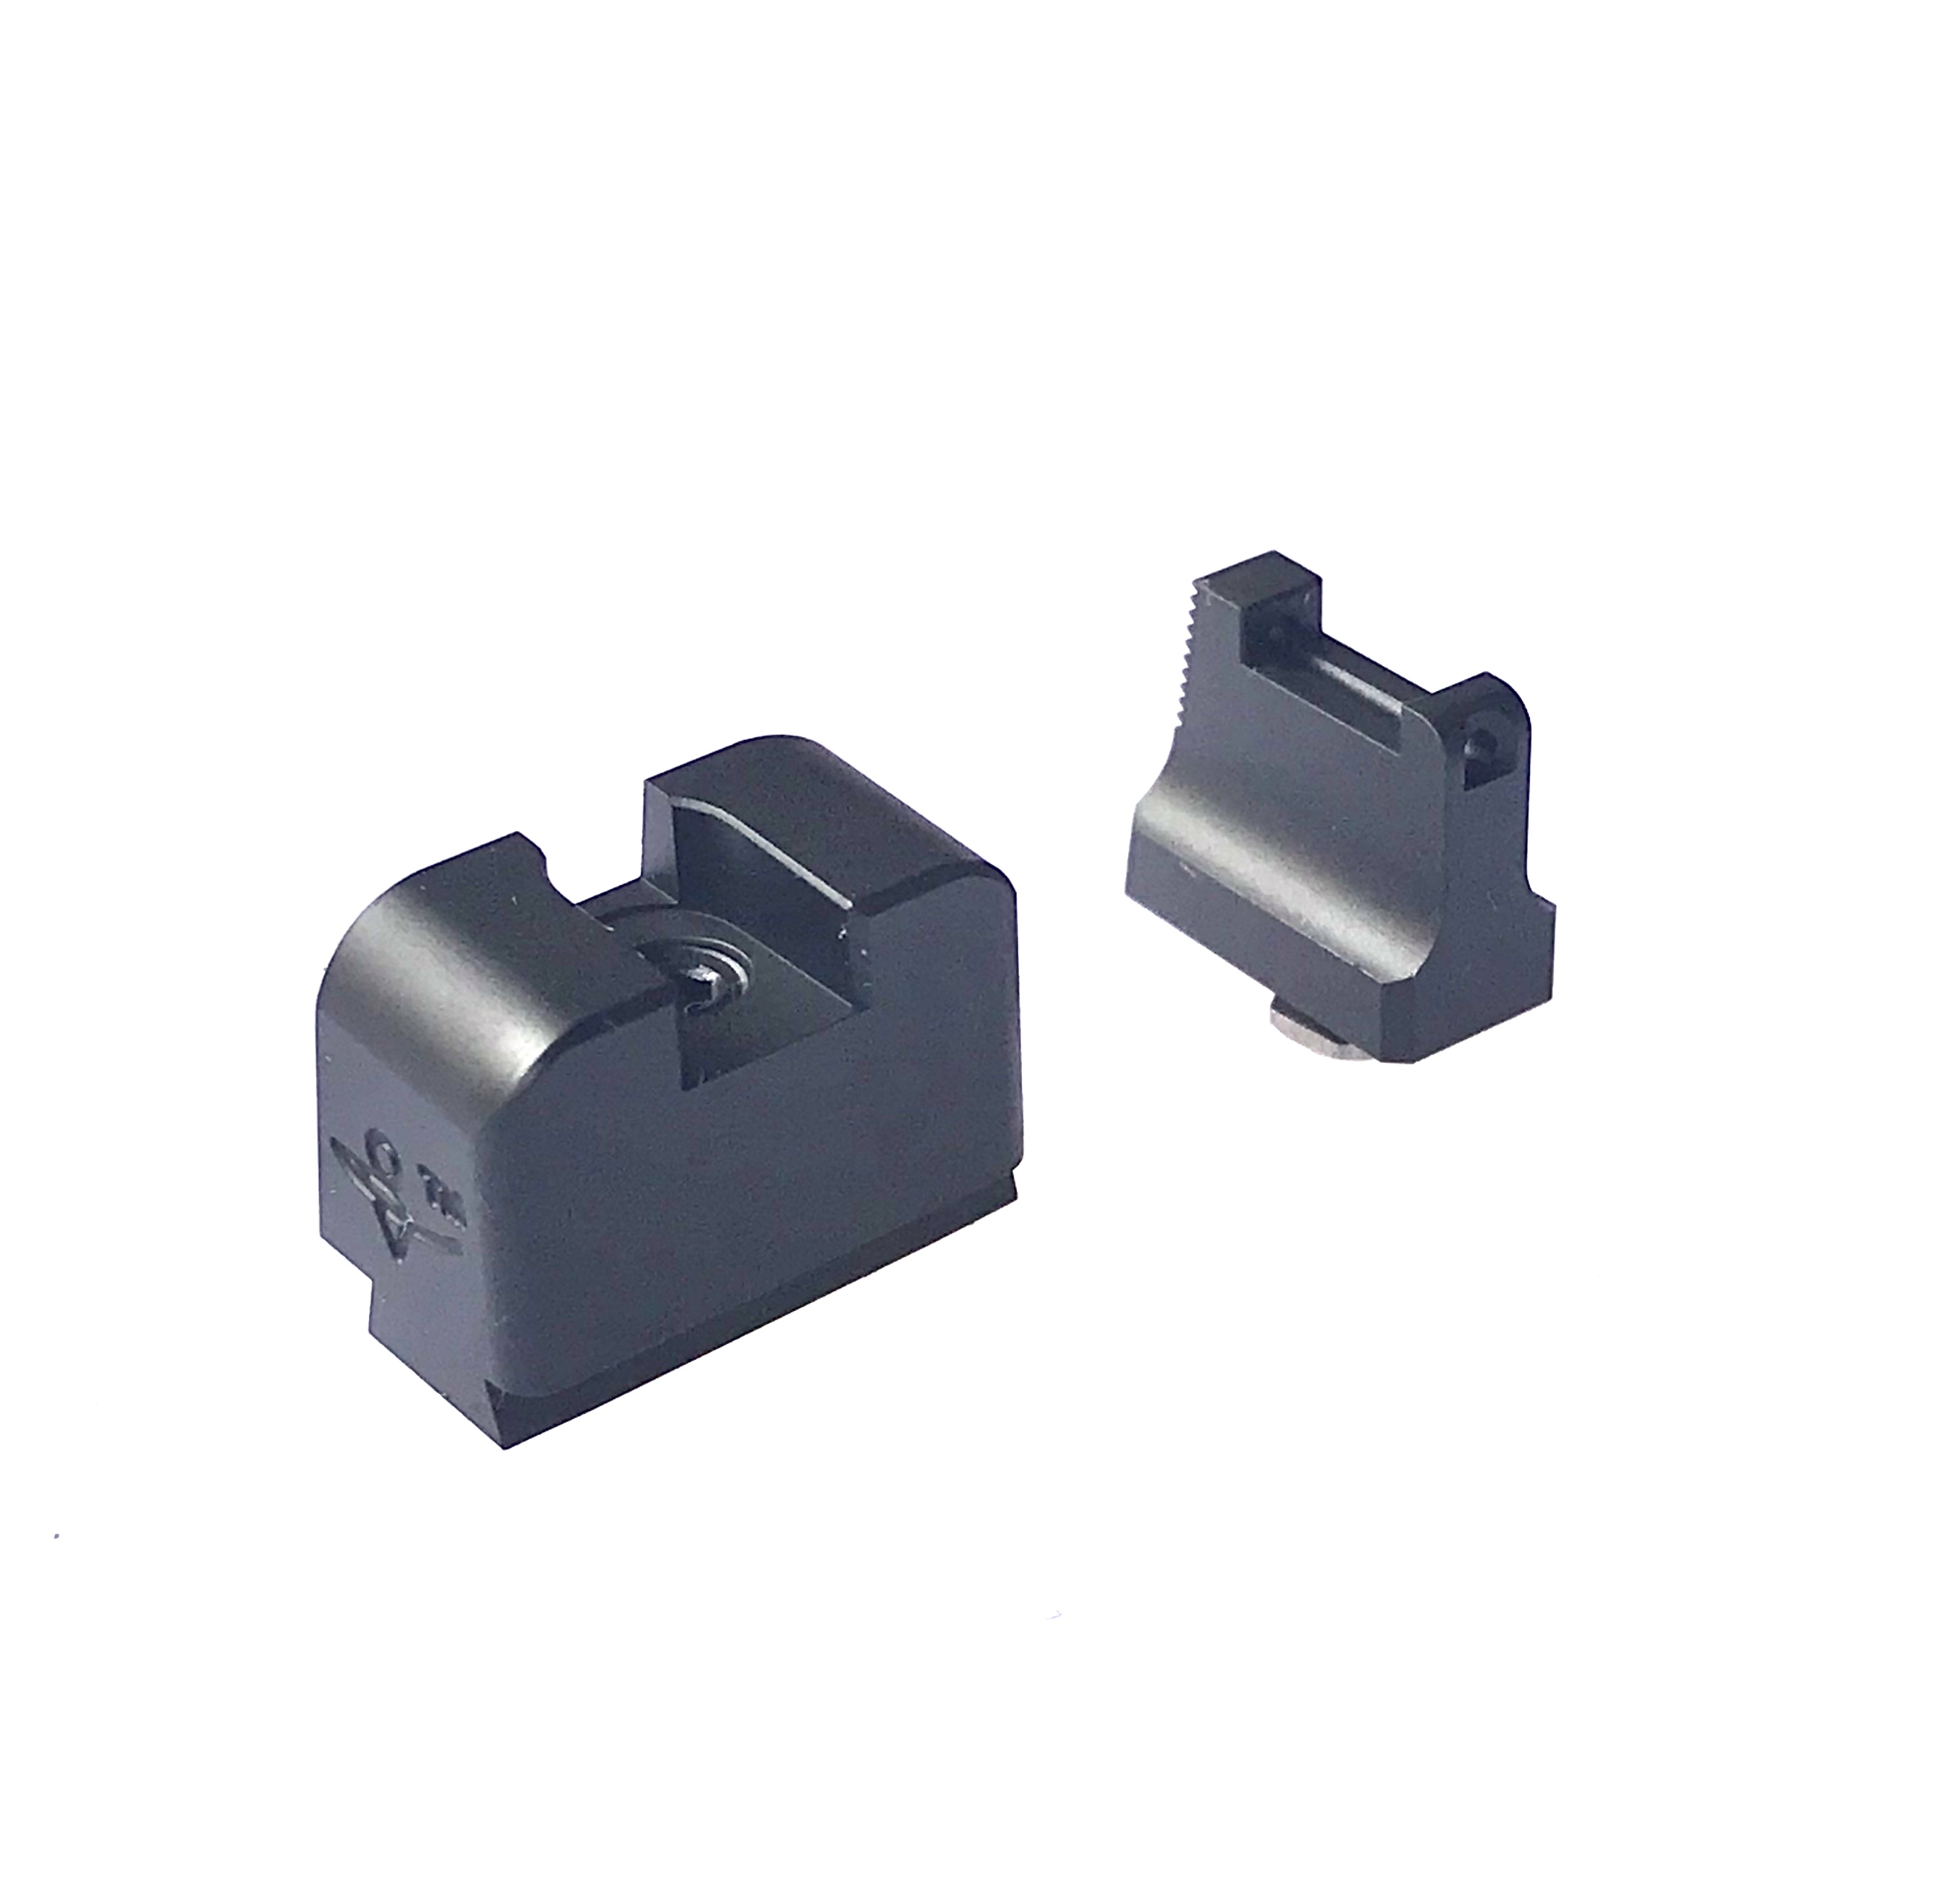
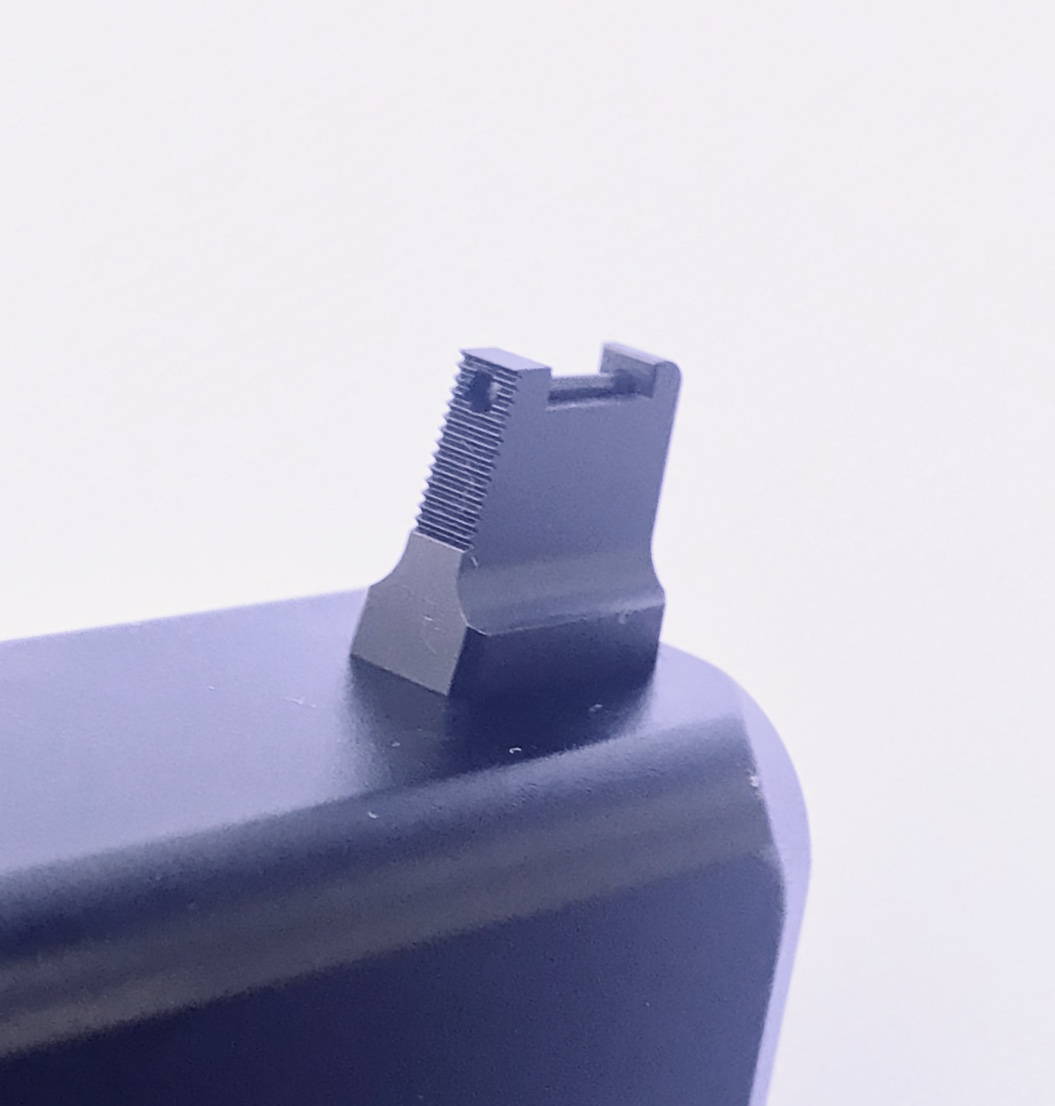
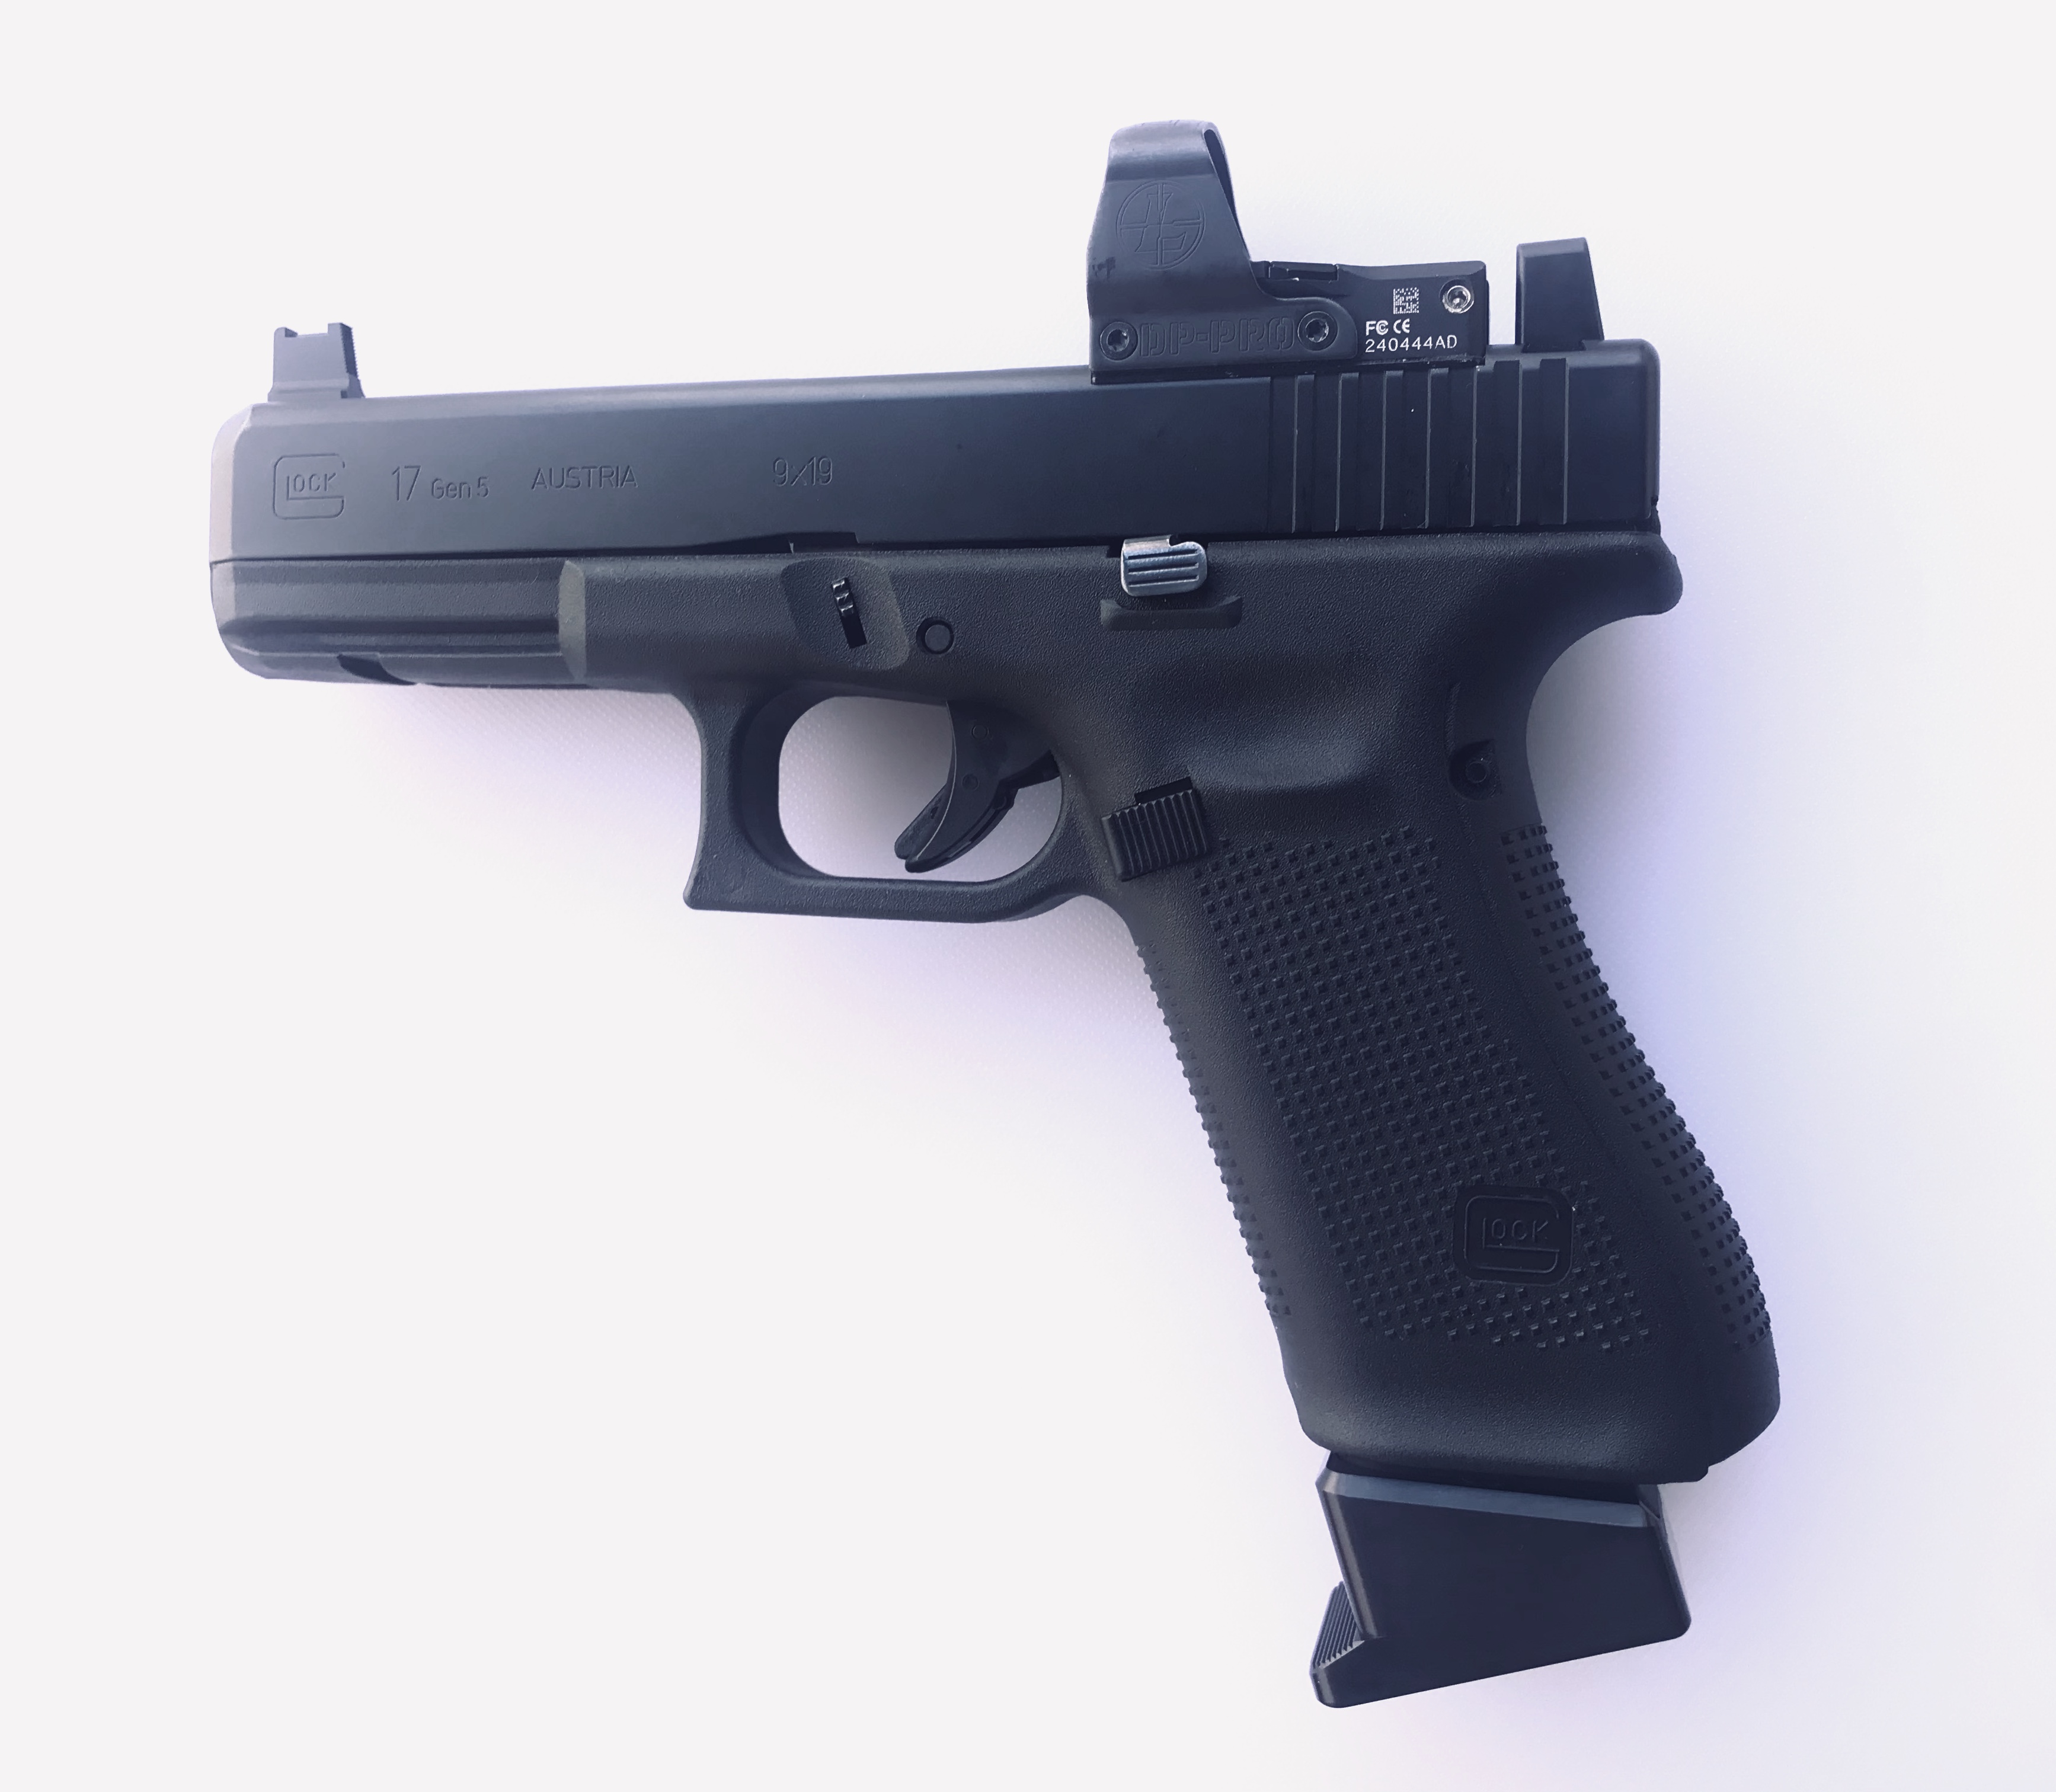
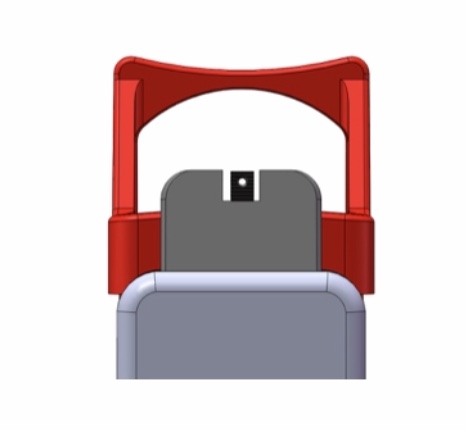
GS114 – Glock, TALL SET, Suppressor height, All models including MOS, Co-Witness for RMR or equivalent height optics
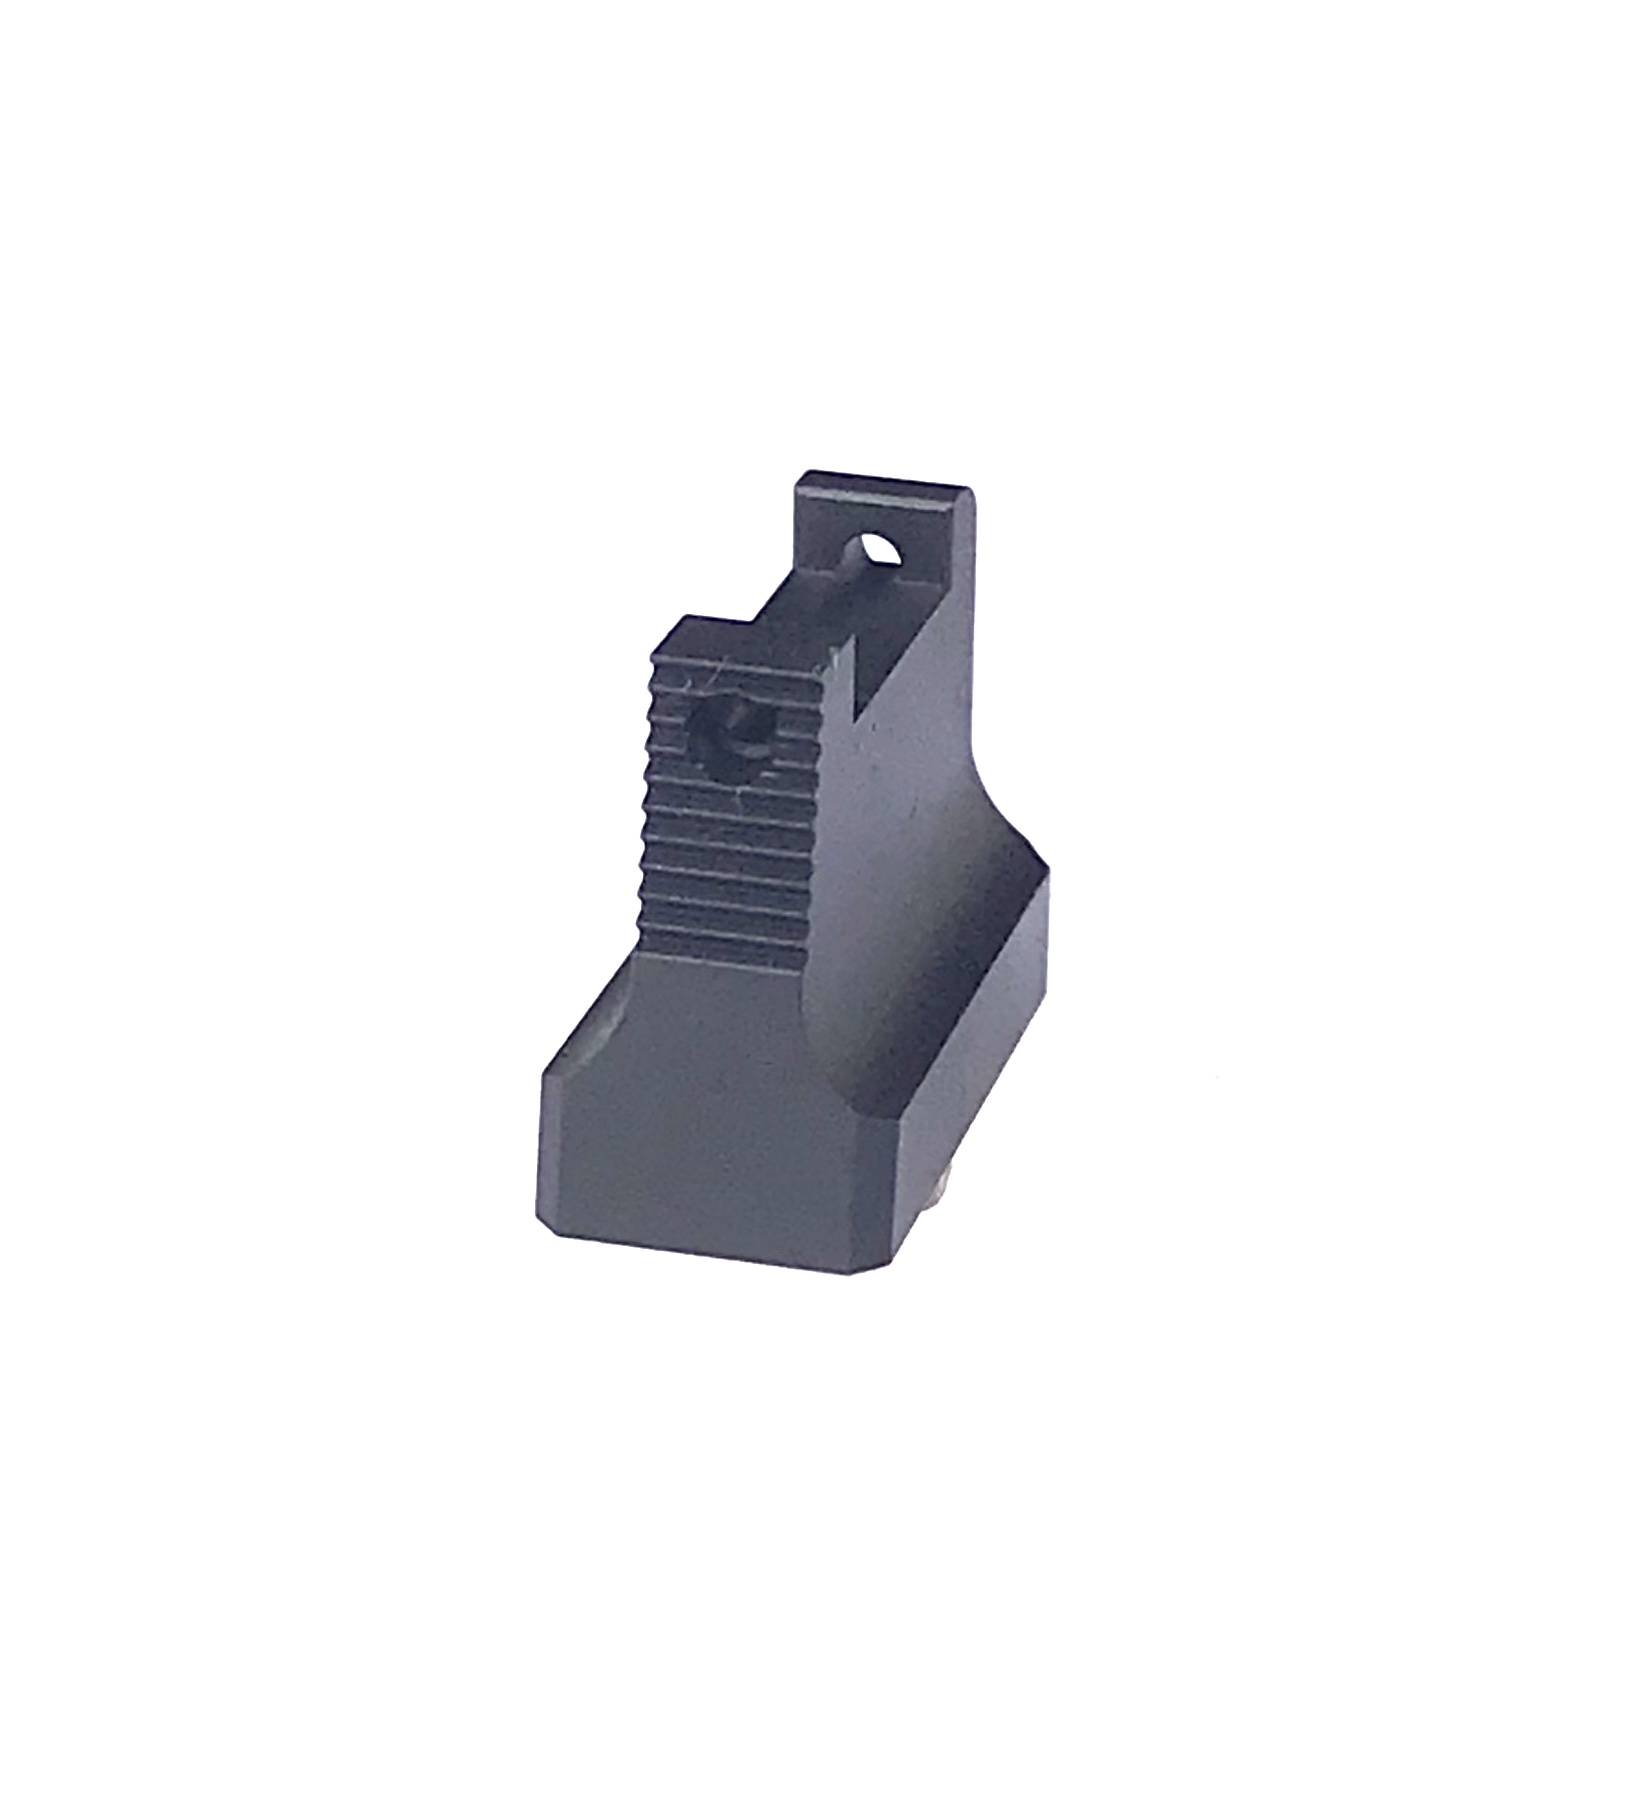
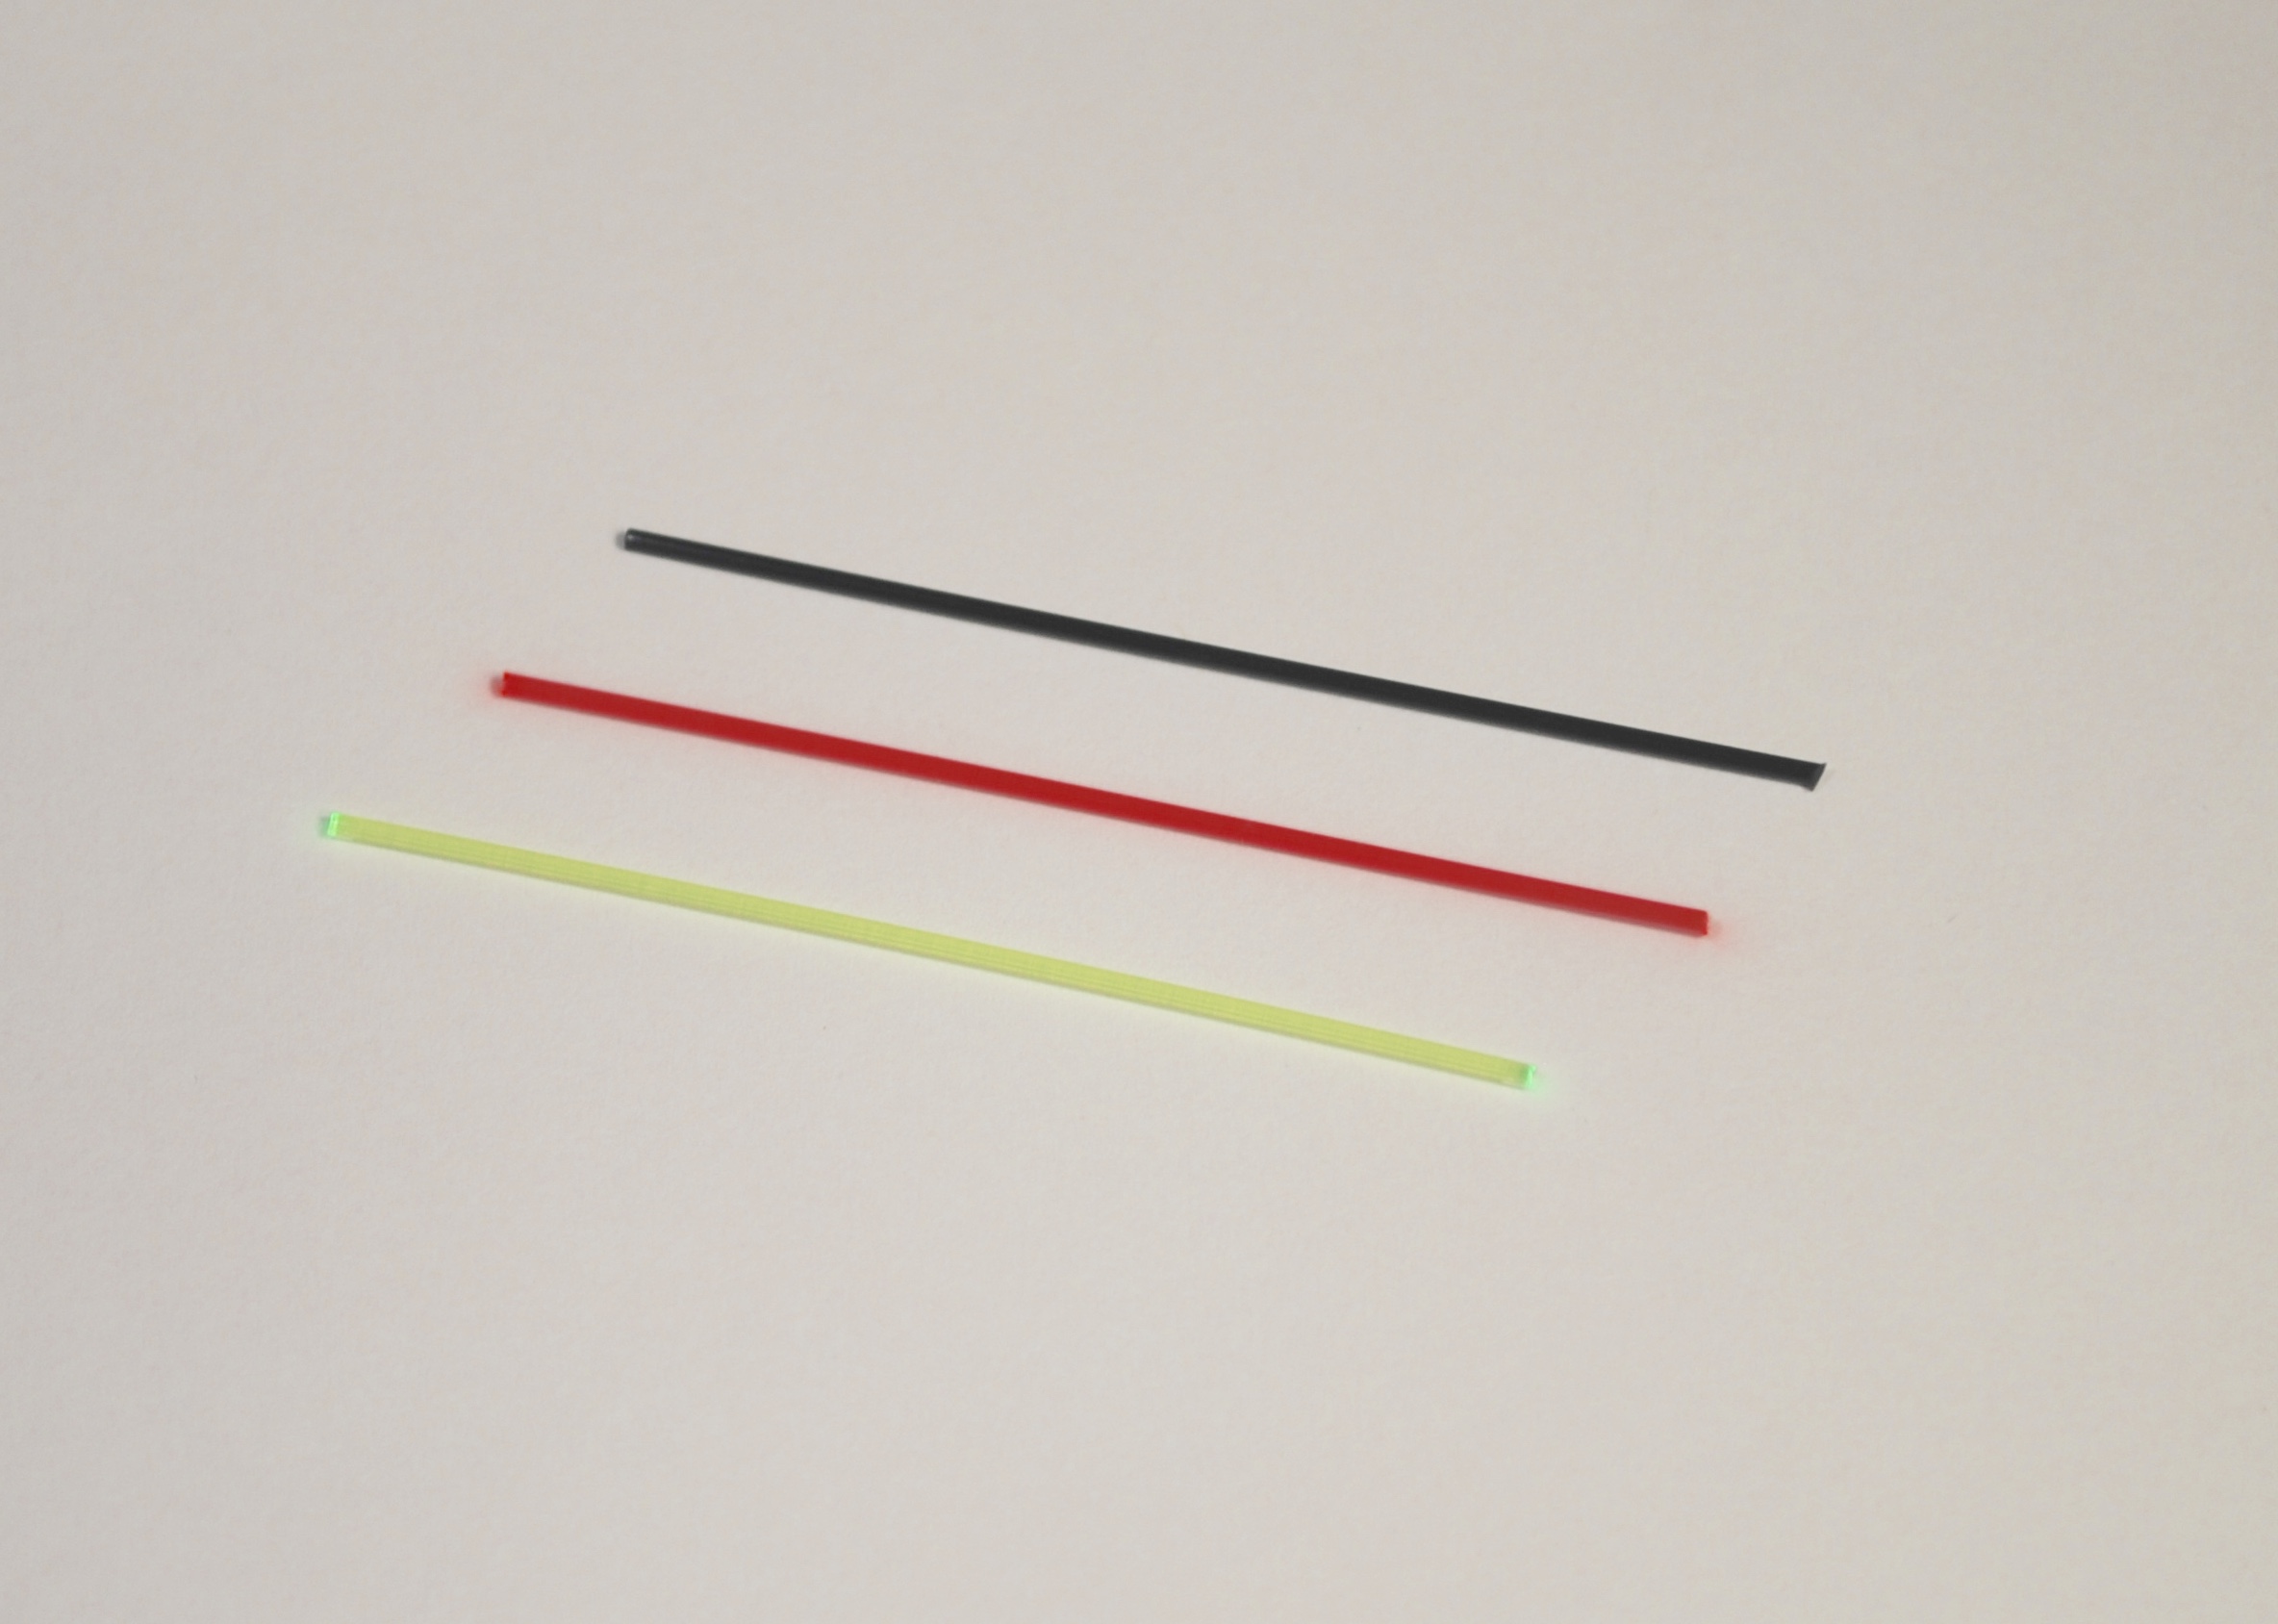
Fiber Optic Front .400″ tall x .117″ wide for 1mm red fiber optic, green fiber optic and black filler rod
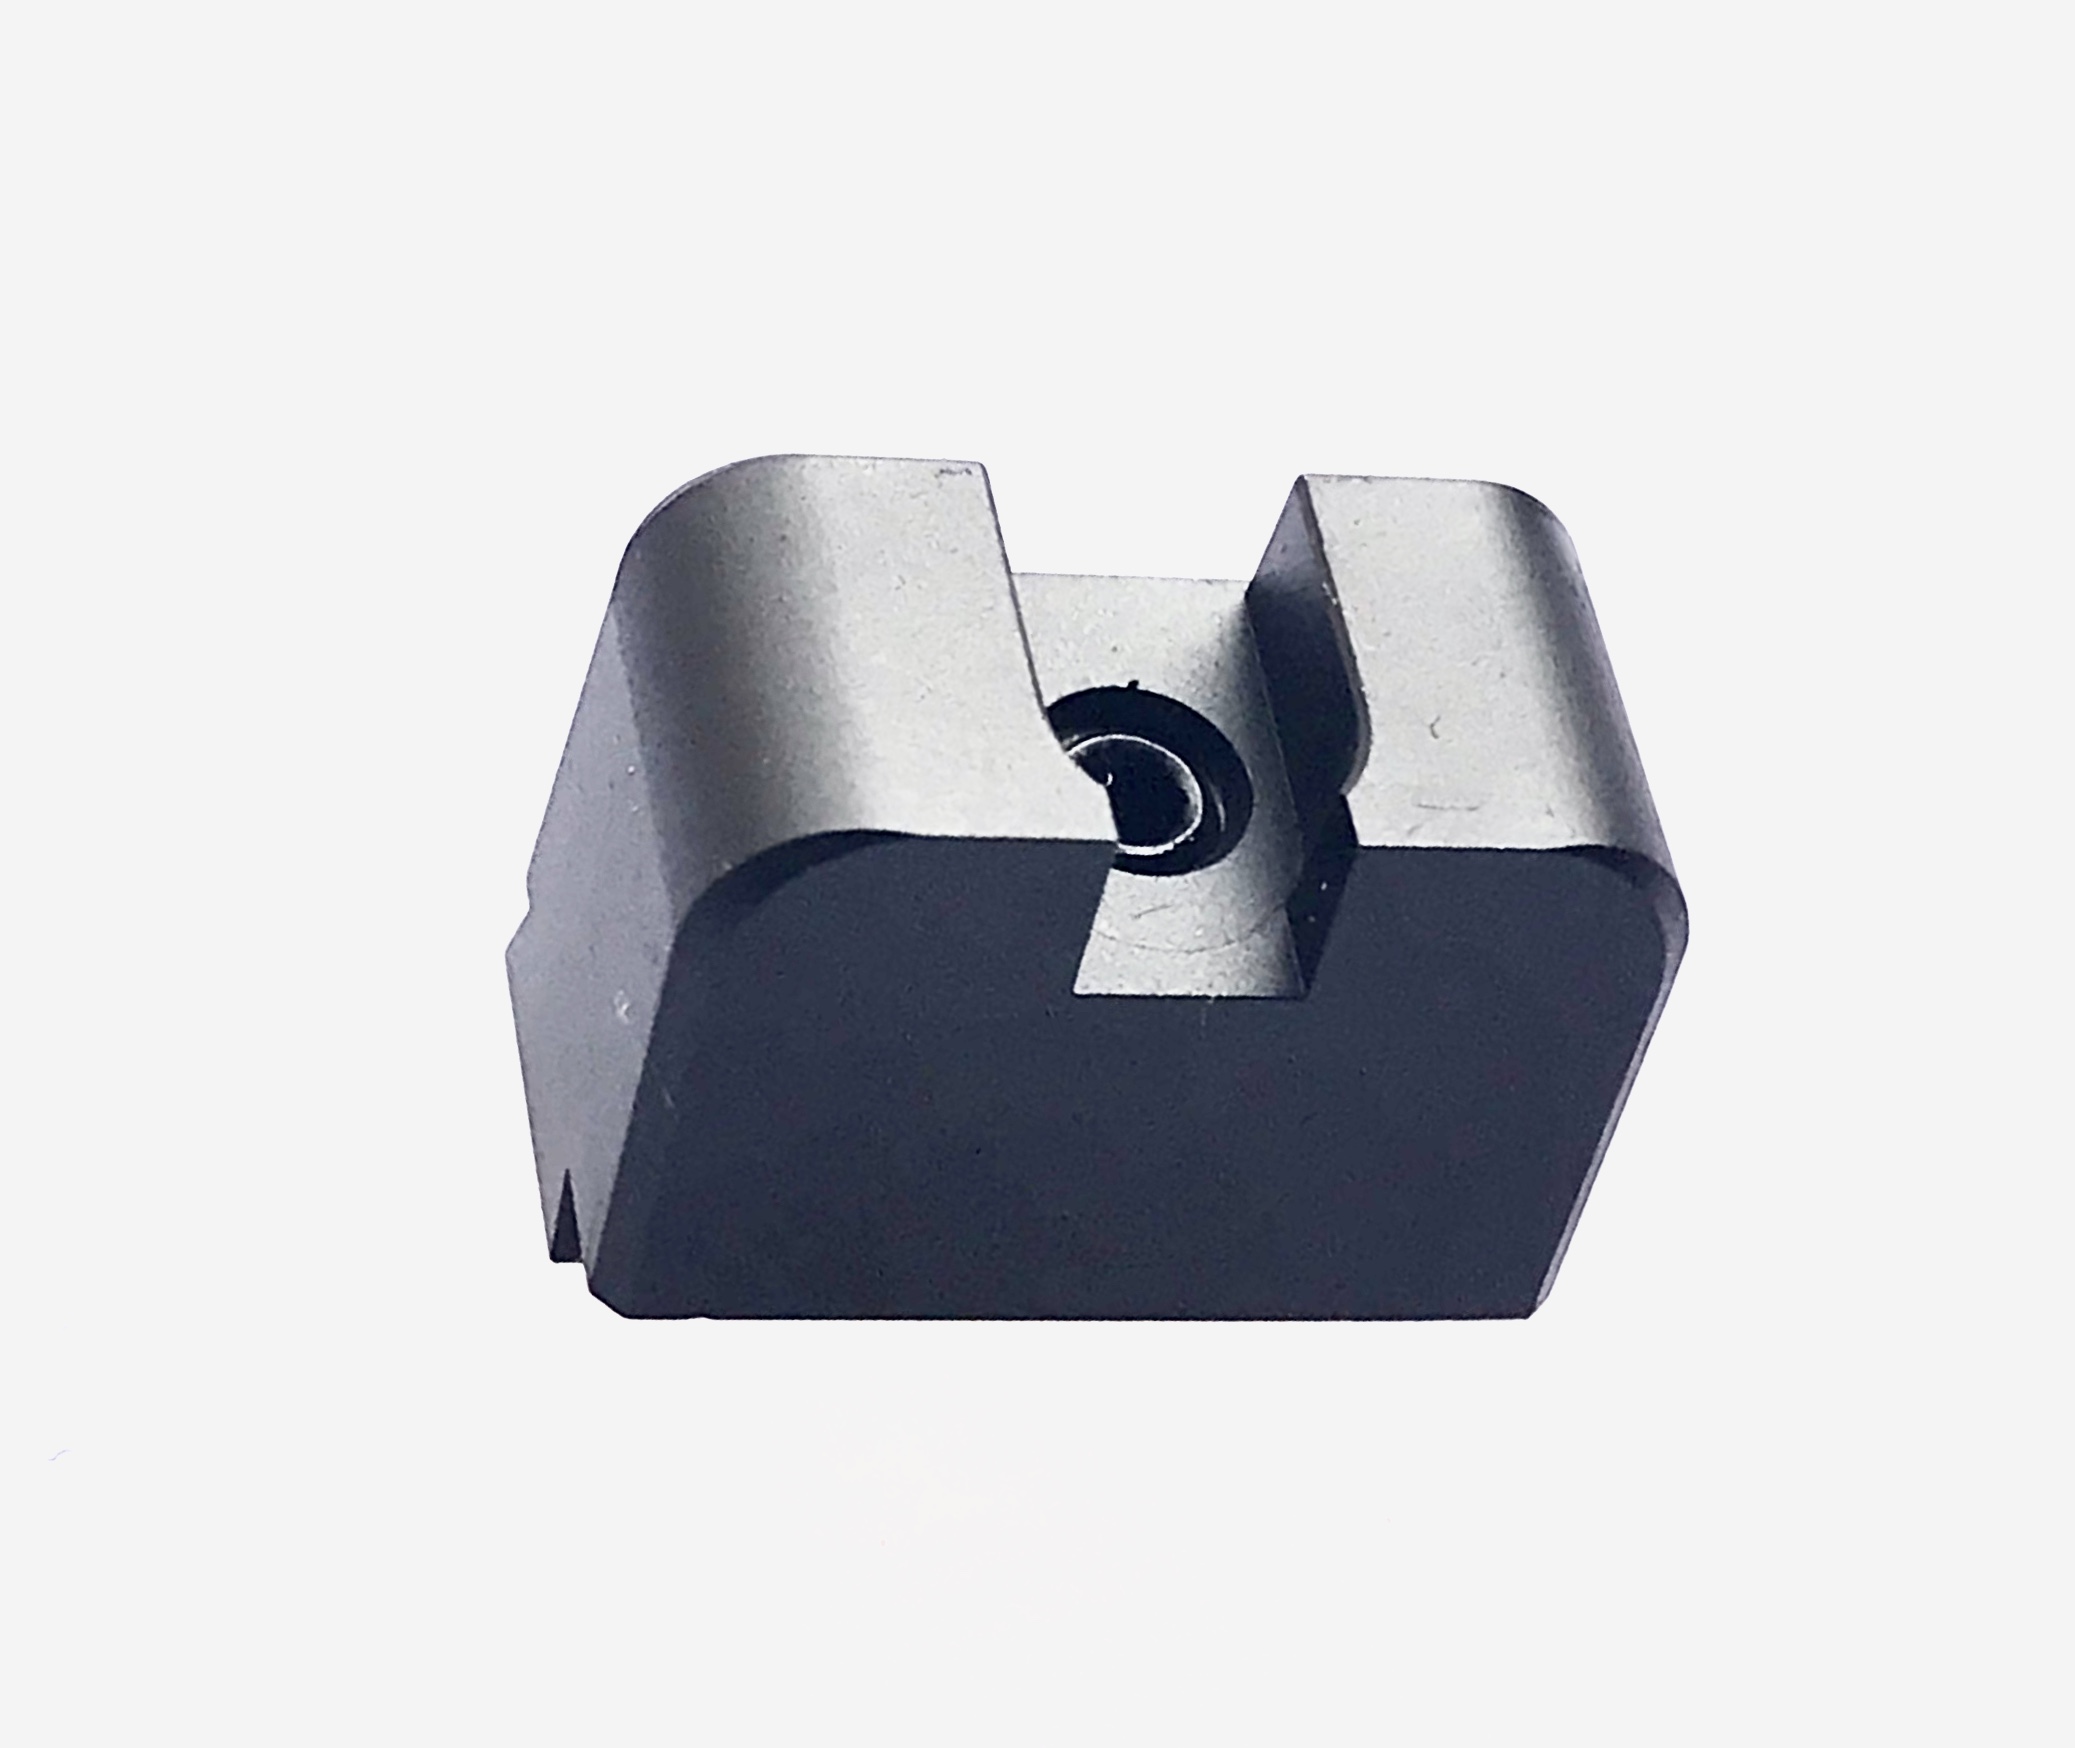
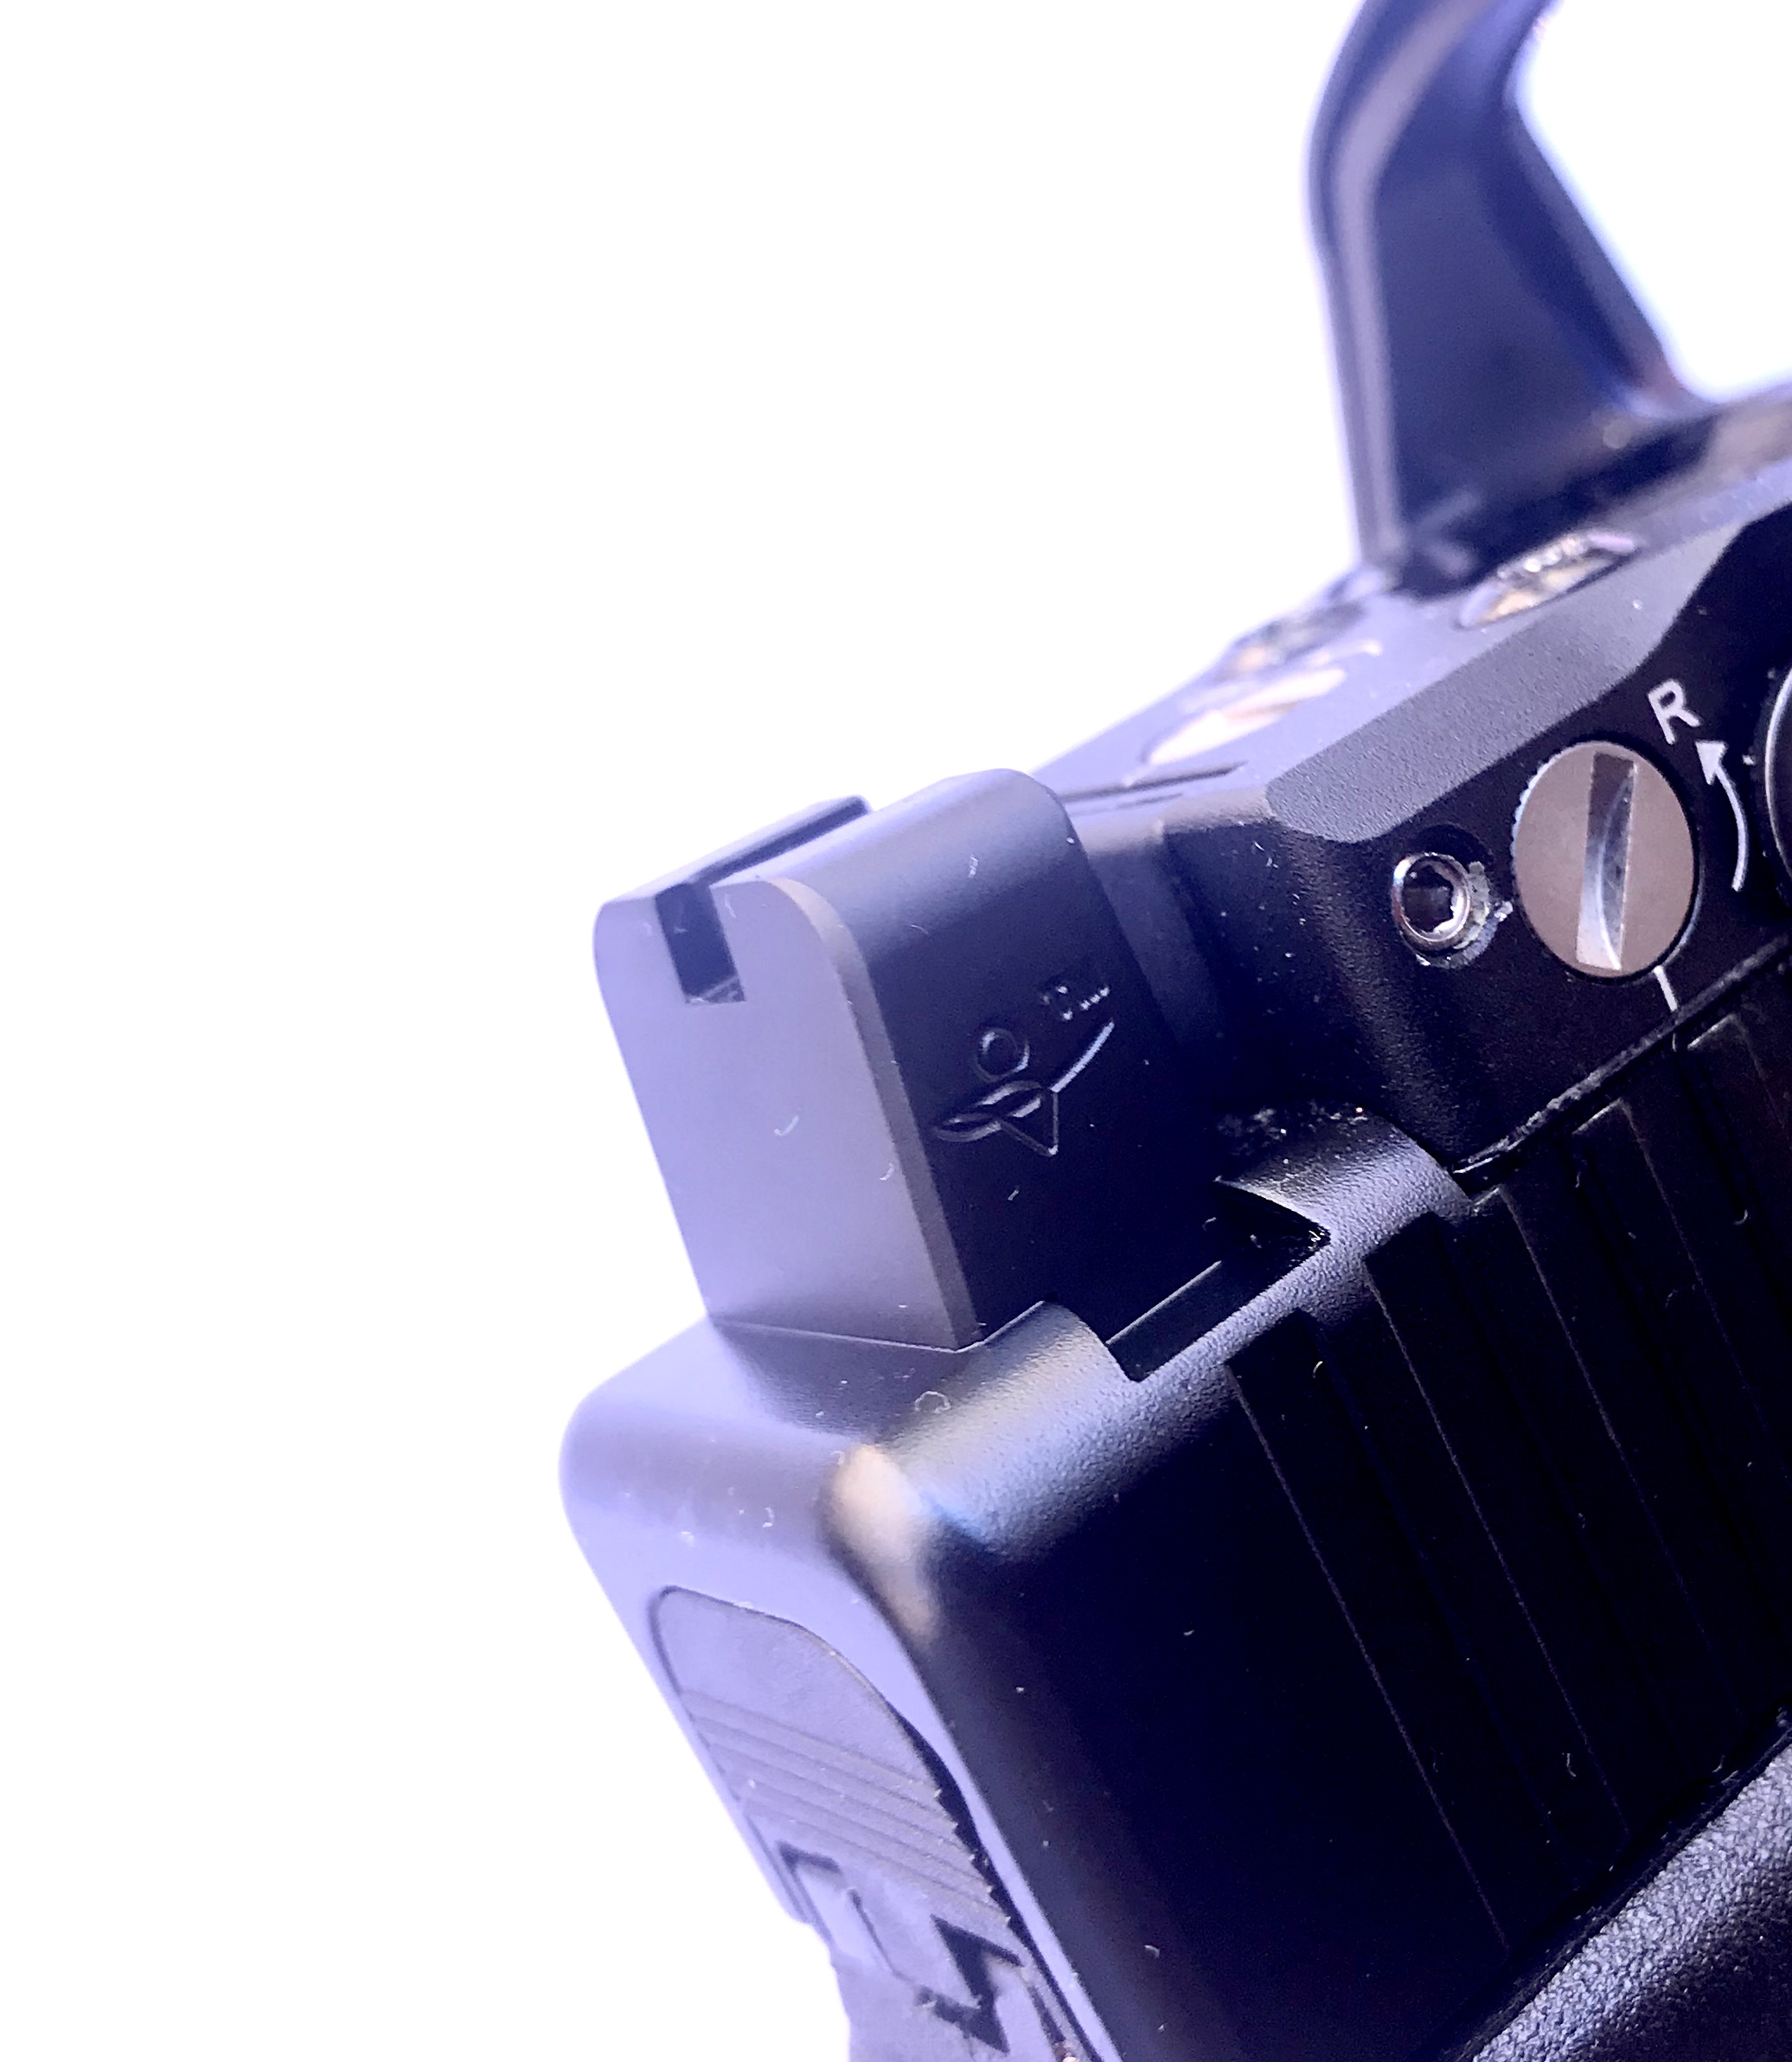
Plain Rear .410″ tall x .150″ wide notch
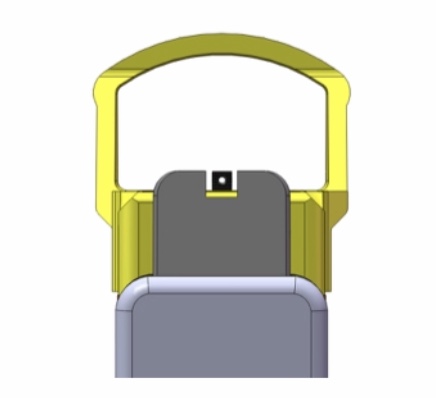
GS211 Glock, TALL SET, Suppressor height, All models including MOS, Co-Witness for Delta Point Pro or equivalent height optics
Fiber Optic Front .490″ tall x .117″ wide for 1mm red fiber optic, green fiber optic and black filler rod.
Plain Rear .500″ tall x .150″ wide notch
INSTRUCTIONS FOR INSTALLING FIBER OPTIC RODS
This guide describes the step by step installation process for fiber optic rod and is for information purposes only.
If performing any operation described in this guide, unload firearm and ensure firearm is in a safe condition.
Sight damage or breakages resulting from improper installation is not the responsibility of Sevigny Performance.
If you are not experienced with sight installation we recommend consulting with a qualified gunsmith.
For professional, guaranteed sight installation service at a reasonable price contact Sevigny Performance.
Email: info@sevignyperformance.com
SP Fiber Optic Rod Installation
Tools: Nail clippers, soft flame lighter, gun oil, cotton swab.
1. Choose either (1) red fiber optic rod or (2) green fiber optic rod or (3) black filler rod for your sight.
- Insert a full length of rod beginning from the front 1mm hole and through the rear 1mm hole. You may need approximately 3/4″ or longer in order to pull the rod described in step 5.
3. Allow rod to protrude approximately 1mm past the front sight serrations.
4. In calm conditions (no wind), ease flame toward the rod tip until melting a small bulb. - Once bulb is formed, pull rod forward until snug to the bottom of the front sight counterbore. When melted properly, the rod will fill in the counterbore inside the aiming face. Never make direct contact with the flame and rod.
6. Ensure rod bulb is pulled into the sight bottom of the counterbore, then trim opposite end of the rod leaving approximately 1mm of rod to protrude from the front end.
7. In calm conditions(no wind), ease flame toward the rod tip, allowing the tip to melt into the relief cut.
8. The rod should now be secure in your front sight without any flame damage or discoloration. - Clean sight to remove any traces of carbon from the flame. Light oil on a cotton swab recommended.
- To replace rod, cut center of rod and push the two sections out of the front and rear end of sight.
DISCLAIMER: This product is not manufactured, authorized, endorsed, or warranted by GLOCK. GLOCK does not warrant or represent that this product is compatible with GLOCK pistols.






Reviews
There are no reviews yet.